
How to Use an AED Defibrillator: A Step-by-Step Guide for Any Responder
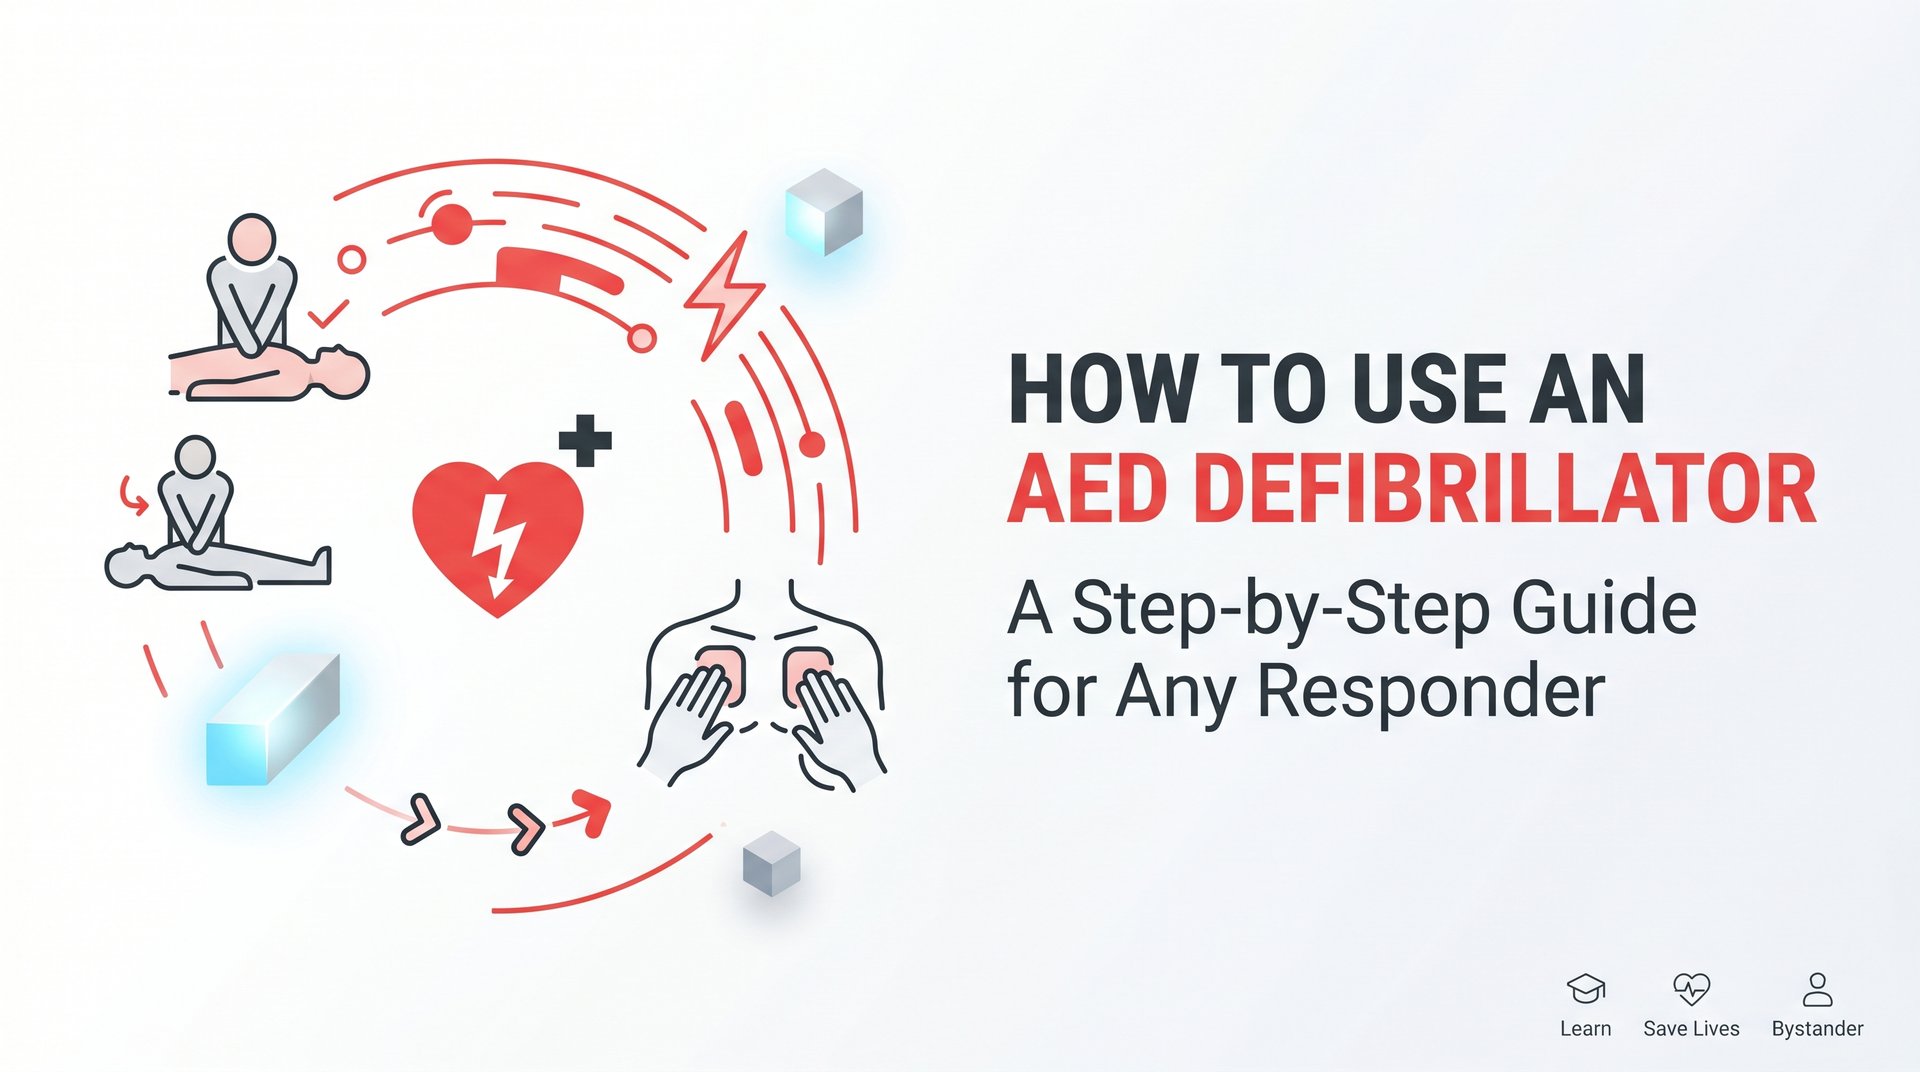
Every minute matters during sudden cardiac arrest. The heart stops beating effectively, the brain begins to suffer, and bystanders often freeze because they are unsure what to do. An AED (automated external defibrillator) is designed to guide anyone through the process, but knowing the steps before an emergency strikes makes all the difference.
This guide walks you through exactly how to use an AED defibrillator from the moment you recognize a cardiac emergency to the moment professional help takes over. Whether you are a workplace safety coordinator stocking your building with AED units, a healthcare professional refreshing your knowledge, or someone who simply wants to be prepared, these steps will give you the confidence to act.
Here is something worth knowing before we begin: you do not need to be a medical professional to use an AED. The device itself provides audio and visual prompts at every stage. What you do need is a basic understanding of the sequence so that panic does not slow you down when it counts most.
By the end of this guide, you will know how to assess the scene safely, activate emergency services, perform CPR in coordination with AED use, place pads correctly on an adult victim, deliver a shock safely, and continue care until help arrives. These are the core competencies covered in AED certification courses and BLS training programs.
One important note before diving in: reading about the steps is a strong starting point, but practicing with an actual device under the guidance of a certified instructor is what prepares you to perform under pressure. Pair this guide with hands-on AED certification training to build true muscle memory. Now let us get into the steps.
Step 1: Assess the Scene and Check the Victim
Before you rush in, take two seconds to look around. A quick scene assessment protects you and ensures you can actually help. Scan for hazards such as standing water, electrical sources, moving traffic, or unstable structures. An AED should never be used near standing water, and approaching a victim in a dangerous environment without addressing the hazard first can turn one emergency into two.
Once you have confirmed the scene is safe to approach, move to the victim and check for responsiveness. Tap them firmly on both shoulders and shout clearly: "Are you okay?" This is not the time for a gentle nudge. You need a decisive response to determine whether the person is conscious.
If there is no response, immediately check for normal breathing. Look at the chest for rise and fall for no more than 10 seconds. This is a critical detail: occasional gasping, sometimes called agonal breathing, is not normal breathing. It is a reflex that can occur even when the heart has stopped. If you observe gasping or no breathing at all in an unresponsive person, treat the situation as cardiac arrest and act immediately.
Do not move a victim who may have a spinal injury unless the environment is immediately life-threatening. If the person collapsed suddenly without trauma, spinal injury is unlikely, and you should proceed with care.
What to avoid: The most common pitfall at this stage is spending too long assessing. Every second of delay reduces the chance of survival. Keep your scene assessment and responsiveness check to 10 seconds or less, then move directly to the next step.
Success indicator: You have confirmed the victim is unresponsive and not breathing normally. You know the scene is safe to work in. You are ready to call for help.
Step 2: Call for Help and Send Someone for the AED
The moment you confirm cardiac arrest, two things need to happen simultaneously: someone calls 911, and someone retrieves the nearest AED. If bystanders are present, do not shout vaguely into the crowd. Point directly at a specific person and say clearly: "You, call 911 right now." Then point at another person and say: "You, go get the AED." Specific direction cuts through the confusion that crowds often create.
If you are alone, call 911 first. Put the phone on speaker, place it near the victim, and begin CPR. Emergency dispatchers are trained to provide real-time guidance and will stay on the line until help arrives. Do not hang up. Their instructions can be invaluable, especially if you are uncertain about any step.
Knowing where AEDs are located before an emergency is one of the most important things a workplace safety coordinator can do. AEDs are commonly found in building lobbies, near elevators, in break rooms, at security desks, and in fitness areas. If your workplace has AED units, make sure their locations are posted on floor maps and that all staff members are familiar with them. Seconds spent searching for a device are seconds that cannot be recovered.
When you send someone for the AED, tell them to run and to bring the entire kit. Most AED cases include not just the device but also pads, a razor, scissors, gloves, and a CPR face shield. All of those items may be needed.
Success indicator: Before you begin chest compressions, 911 is contacted and someone is actively moving toward the AED. Both actions are in motion at the same time.
Step 3: Begin CPR While Waiting for the AED
Do not wait for the AED to arrive before starting CPR. Chest compressions keep oxygenated blood moving to the brain and vital organs. Every moment without circulation increases the likelihood of irreversible damage. Begin CPR immediately after calling for help.
Position the victim on a firm, flat surface. A soft mattress or couch will absorb compression force and reduce effectiveness. Kneel beside the victim at chest level.
For compression technique, follow these steps carefully:
1. Place the heel of one hand on the center of the chest, specifically on the lower half of the sternum. Avoid placing your hands too high toward the throat or too low toward the stomach.
2. Interlace the fingers of your other hand on top and lift your fingers off the chest so that only the heel of your bottom hand is making contact.
3. Keep your arms straight and position your shoulders directly over your hands. This allows your body weight to assist with compressions rather than relying on arm strength alone.
4. Compress the chest at least 2 inches deep at a rate of 100 to 120 compressions per minute. According to the American Heart Association's guidelines, this rate and depth are the standard for adult CPR. A practical way to maintain rhythm is to think of the beat of a fast-paced song you know well.
5. Allow the chest to fully recoil between each compression. Do not lean on the chest between compressions. Full recoil allows the heart to refill with blood before the next push.
If you are trained in rescue breathing, deliver 2 breaths after every 30 compressions. Tilt the head back, lift the chin, and give each breath over about one second while watching for chest rise. If you are not trained in rescue breathing, hands-only CPR is still highly effective. The American Heart Association supports hands-only CPR as a strong option for untrained bystanders.
What to avoid: Compressions that are too shallow or too slow significantly reduce effectiveness. Depth and rate both matter equally. If your arms tire, ask another bystander to rotate in every two minutes to maintain quality.
Success indicator: You are delivering consistent, deep compressions at the correct rate and the chest is visibly compressing and recoiling with each cycle.
Step 4: Power On the AED and Prepare the Victim
When the AED arrives, open the case immediately. Many modern AED units power on automatically the moment the lid is opened. Others have a clearly marked power button, often green or prominently labeled. Either way, the device will begin speaking to you within seconds of being activated.
Follow the audio instructions in sequence. The AED is designed to walk you through every step, so resist the urge to skip ahead or second-guess the prompts. Trust the device.
While one person manages the AED, another should continue CPR without stopping. Preparation and compressions can happen at the same time.
Preparing the victim's chest is essential for the pads to work correctly. Here is what to do:
Remove clothing: Expose the victim's bare chest completely. Pull up or cut away any shirt, bra, or undershirt. Most AED kits include scissors for this purpose. Pads must make direct contact with skin, not fabric.
Dry the skin: If the victim's chest is wet from sweat, rain, or water, dry it with the towel included in the kit. Moisture between the pad and skin reduces electrical conductivity and can diminish shock effectiveness.
Address chest hair: Thick chest hair can prevent pads from adhering properly. If a razor is available in the kit, quickly shave the areas where pads will be placed. A few seconds here can make a meaningful difference in pad contact quality.
Remove medication patches: Transdermal medication patches on the chest must be removed and the skin wiped clean before placing pads. These patches can interfere with pad adhesion and shock delivery.
Check for implanted devices: If you notice a small, hard lump under the skin in the upper chest area, this may indicate a pacemaker or implanted cardioverter-defibrillator. Place the AED pad at least one inch away from the device to avoid interference.
Tip for preparedness: Familiarize yourself with the contents of your workplace AED kit during training. Knowing exactly where the razor, scissors, and towel are stored means you will not be searching through the case during an emergency. An AHA Heartsaver CPR AED course covers this type of hands-on preparation in detail.
Step 5: Attach the Pads and Let the AED Analyze
Pad placement is one of the most important technical steps in using an AED defibrillator correctly. The good news is that you do not need to memorize the exact positions. Every set of AED pads includes a placement diagram printed directly on the pad itself. Look at the diagram before peeling the backing.
Here is how to place the pads for an adult victim using the standard anterior-lateral position:
First pad (upper right): Place this pad on the upper right chest, just below the collarbone and to the right of the breastbone. The pad should sit flat against the skin with no lifted edges or air pockets.
Second pad (lower left): Place this pad on the lower left side of the chest, below and to the left of the nipple. The top edge of the pad should sit a few inches below the armpit. Again, press firmly to ensure full skin contact across the entire surface of the pad.
Press each pad down firmly and smooth out any air bubbles. Poor contact between the pad and skin reduces the effectiveness of both rhythm analysis and shock delivery. Take an extra second to confirm that both pads are fully adhered before moving on.
If the pad connector cable is not pre-connected to the AED unit, plug it into the port now. The port is clearly labeled and the cable will only fit one way.
Once both pads are attached and connected, the AED will announce that it is analyzing the heart rhythm. This is a critical moment: everyone must stop touching the victim immediately. Even slight movement or contact can interfere with the analysis.
Shout "Clear!" loudly and do a visual sweep of the victim to confirm that no one is making contact. This includes hands, knees, and any objects resting on the body.
The AED will complete its analysis within a few seconds and deliver one of two instructions: it will either advise a shock or advise that no shock is needed and that you should continue CPR. Trust the device completely. AEDs are engineered to detect shockable rhythms, specifically ventricular fibrillation and pulseless ventricular tachycardia, with a high degree of accuracy. They will not advise a shock unless one is appropriate.
Special consideration for children: If the victim is a child under 8 years old or under 55 pounds, use pediatric pads or activate the pediatric mode on the AED if available. If pediatric pads are not available, adult pads may be used as a last resort. Completing an HSI CPR AED First Aid course will prepare you to handle both adult and pediatric scenarios with confidence. Do not delay defibrillation waiting for pediatric equipment if it is not immediately accessible.
Step 6: Deliver the Shock and Resume CPR
If the AED advises a shock, you are at the most critical moment of the entire response. Act quickly but deliberately.
Before pressing the shock button, shout "Clear!" one final time and conduct a thorough visual sweep. Confirm that no one is touching the victim, not their hands, not their legs, not any part of the body. Even indirect contact through a wet surface can transmit the electrical current. This safety check takes only two seconds and protects everyone present.
Press the flashing shock button firmly. The button is typically large, clearly marked, and will be illuminated or blinking to indicate it is ready. When the shock is delivered, you may observe a brief muscle contraction in the victim. This is expected and does not indicate that the shock was harmful.
Immediately resume CPR the moment the shock is delivered. Do not pause to check for a pulse. Do not wait to see if the victim responds. Begin chest compressions right away. Research in resuscitation science consistently supports minimizing interruptions to chest compressions as a key factor in improving outcomes. Every second of delay between the shock and the resumption of compressions matters.
Continue 30 compressions to 2 breaths cycles for approximately 2 minutes. The AED will prompt you when it is time to stop and allow the device to re-analyze the rhythm. Follow the prompts and repeat the cycle.
If the AED advises no shock, resume CPR immediately without hesitation. A no-shock advisory means the device did not detect a shockable rhythm, but CPR is still essential to maintain circulation.
Several important rules apply throughout this phase:
Keep the AED on and pads attached: Do not turn off the AED or remove the pads at any point. The device needs to continue monitoring and analyzing rhythm throughout the entire response.
Continue until professional help arrives: Maintain the cycle of CPR and AED prompts until emergency medical services arrive and take over care, the victim begins breathing normally on their own, or you are physically unable to continue.
Rotate compressors: If other bystanders are present, rotate the person performing compressions every two minutes to maintain quality. Fatigue sets in quickly and shallow compressions reduce effectiveness.
What to avoid: The most common pitfall at this stage is pausing too long between delivering the shock and resuming compressions. Every unnecessary pause reduces the chance of successful resuscitation. Move immediately from shock delivery back to compressions with no hesitation.
Building Real Confidence Through Certified AED Training
Reading this guide gives you a solid framework for understanding how to use an AED defibrillator. But there is a meaningful difference between knowing the steps intellectually and being able to execute them under the stress of a real emergency. That gap is closed through hands-on practice.
AED certification courses provide supervised practice with actual devices. You will work through adult, child, and infant scenarios, practice pad placement on a mannequin, and receive real-time feedback on your compression depth and rate. This kind of repetition builds the muscle memory that allows you to act quickly and correctly when the situation is real and the stakes are high. Reviewing a complete AED certification course guide can help you understand exactly what to expect before you enroll.
For healthcare professionals, BLS (Basic Life Support) certification programs include AED use as a core competency alongside advanced airway management and team-based resuscitation protocols. The American Heart Association recommends renewal of CPR and AED certification every two years to keep skills and knowledge current with the latest guidelines.
Workplace safety coordinators have a particular responsibility here. Corporate training programs can certify entire teams, document compliance for regulatory purposes, and ensure that multiple people in every building know exactly what to do when an AED is needed. Having a certified AED on the wall means nothing if no one is trained to use it confidently.
If you manage a workplace safety program, reviewing the AED training requirements for businesses will help you build a compliant, fully documented program.
Best Choice CPR offers AED certification courses, BLS programs, and workplace training options for both individuals and organizations. Whether you are seeking personal certification or looking to build a safety-ready team, professional instruction makes the difference between hesitation and action.
Your Quick-Reference Checklist
When every second counts, having the sequence clear in your mind is what allows you to move forward without hesitation. Here is a summary of the six steps covered in this guide:
1. Assess the scene and check responsiveness. Confirm the environment is safe, tap the shoulders, shout "Are you okay?", and check for normal breathing for no more than 10 seconds.
2. Call 911 and send for the AED. Direct specific bystanders to call 911 and retrieve the AED simultaneously. If alone, call 911 first and use speaker mode.
3. Begin CPR immediately. Start chest compressions at 100 to 120 per minute, at least 2 inches deep, with full chest recoil between compressions.
4. Power on the AED and prepare the chest. Follow the audio prompts, expose bare skin, dry the chest, remove patches, and account for any implanted devices.
5. Attach the pads and let the device analyze. Use the diagrams on the pads for placement, press firmly for full contact, shout "Clear!", and let the AED complete its analysis.
6. Deliver the shock and resume CPR. Confirm no one is touching the victim, press the shock button, and immediately return to chest compressions without pausing.
AEDs are built to guide any responder through this process with clear audio and visual instructions at every stage. You do not need to be an expert. You need to know the sequence, stay calm, and trust the device.
The most effective way to be truly prepared is to pair this knowledge with certified hands-on training. Knowing the steps is the foundation. Practicing them under realistic conditions is what makes you ready to act when it matters most.
Register for a certification class today and gain the confidence to respond when someone needs help most. Best Choice CPR offers AED certification courses, BLS programs, and workplace training options designed to prepare individuals and teams for exactly these moments. Do not wait for an emergency to wish you had been ready.